Tonight I am off to Amsterdam with my husband and a friend to take photos of a Zombie Walk. It’s a celebration that is being put on by the FOXLife network to celebrate The Walking Dead starting soon on TV here in the Netherlands. It’s great timing that it is so close to Halloween.
I’ve always seen photos from Zombie walks in Canada and the US and I’ve so wanted to get photos of one myself, so I’m really happy that they are doing one here now.
Only problem is that unlike most of the zombie walks in other countries, this is going to take place at night, which makes the whole photo thing a bit more difficult for someone like me. I don’t have a lot of gear and taking photos of moving targets in the dark will be a challenge, to say the least. So I asked my friend Gail for some tips… the first thing she said was maybe looking into sorting out a diffuser for my pop up flash.
One of the most popular types of DIY diffusers were like this one using an old film cannister, but I didn’t have one of those handy. I saw other version like this one using wire and a vaccum bag, but the hot shoe on my camera is designed differently so that wasn’t going to work. Plus, we have a bag free vacuum – DOH!
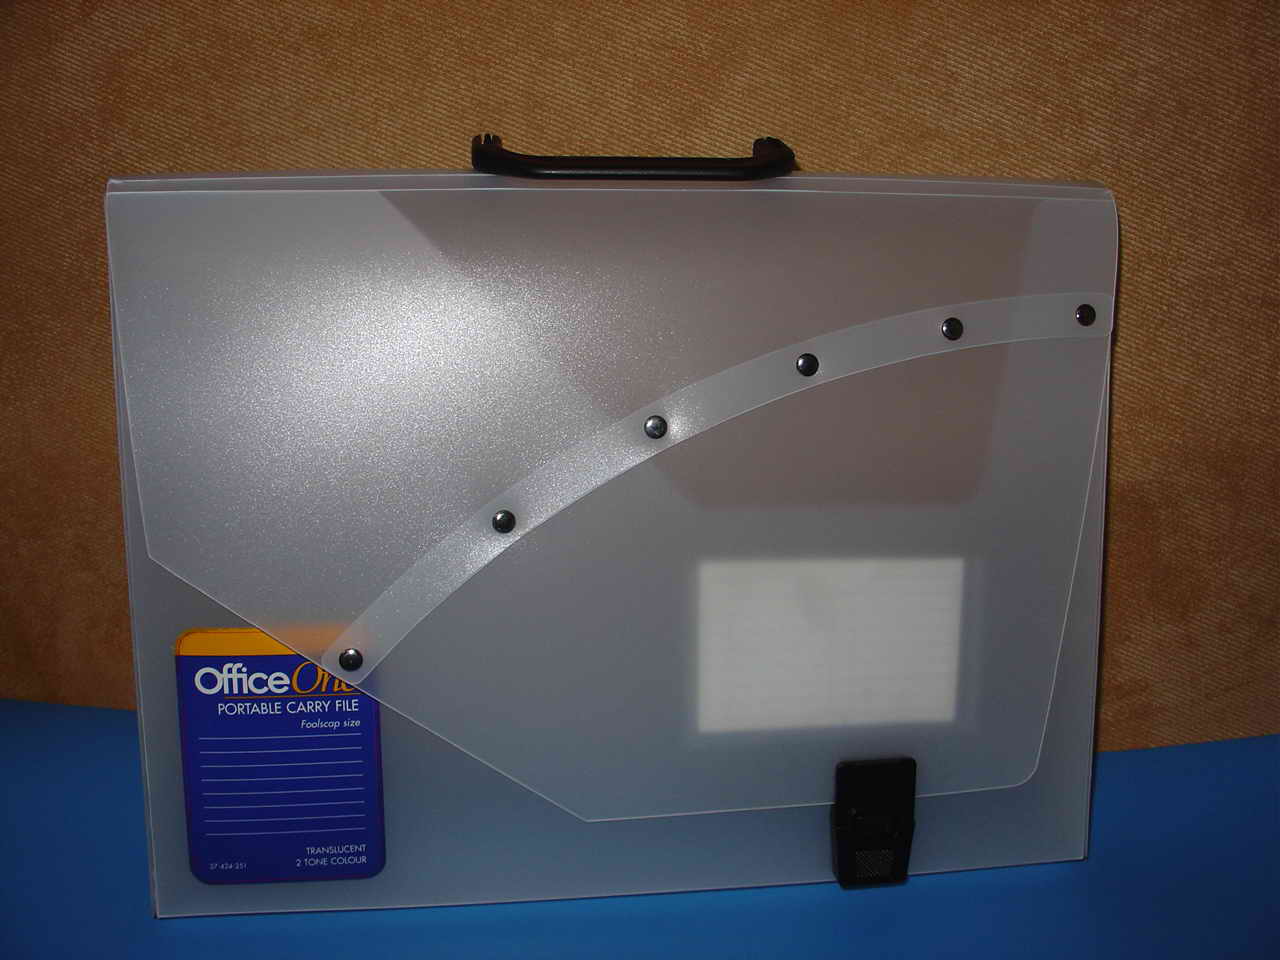
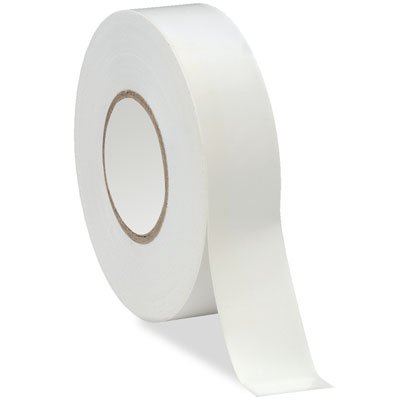
So, together with hubby I sat down and tried to come up with a design of our own. These are the products we used (I forgot to take photos before cutting stuff up so these are random ones I found online):
1. A frosty plastic file folder
2. A thin plastic shopping bag, like what this person put their cat in. The semi see-through crinkly kind (I used a HEMA bag for those of you who might be in NL).

3. One or two skinny rubber bands

4. White (or any other color if you don’t want to match) electrical tape
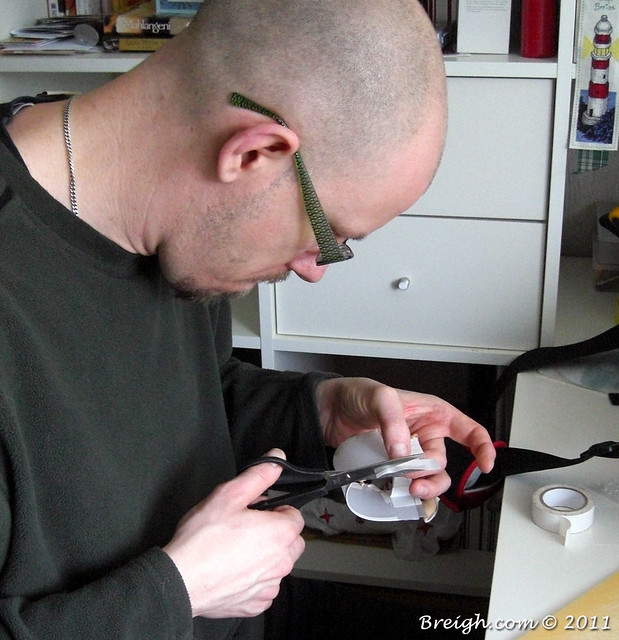
I didn’t take photos of the actual creative process, but here’s hubby working hard on it.
He even managed to only cut himself once, which is a miracle if you ask me, considering he was using a box cutter AND scissors!
Here is the finished product:
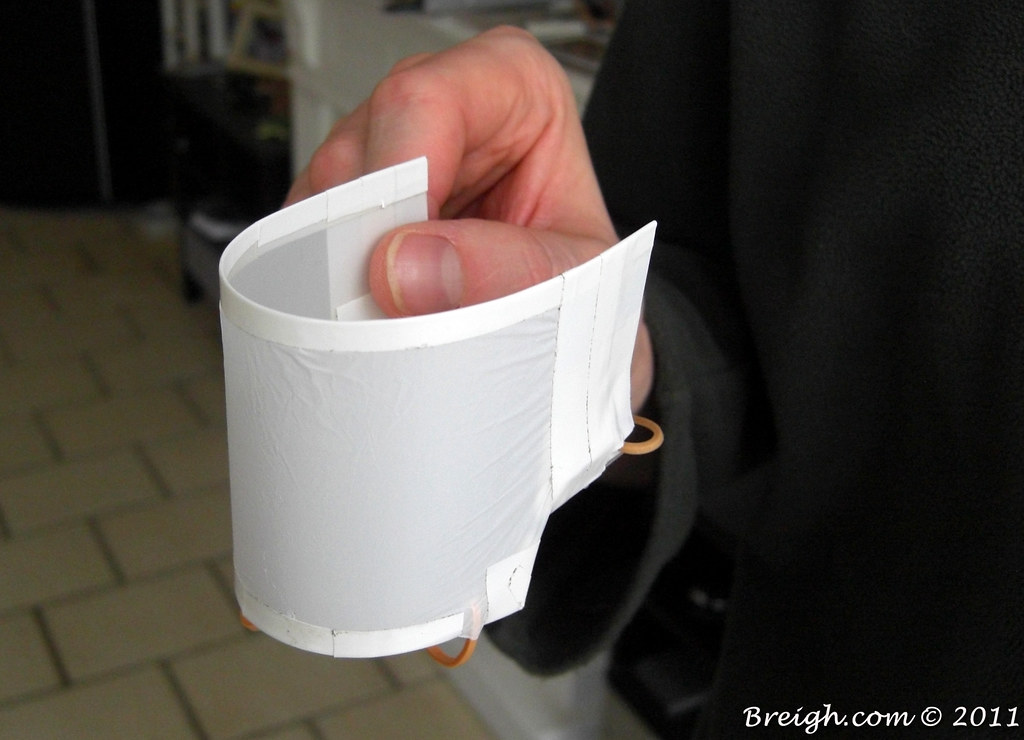
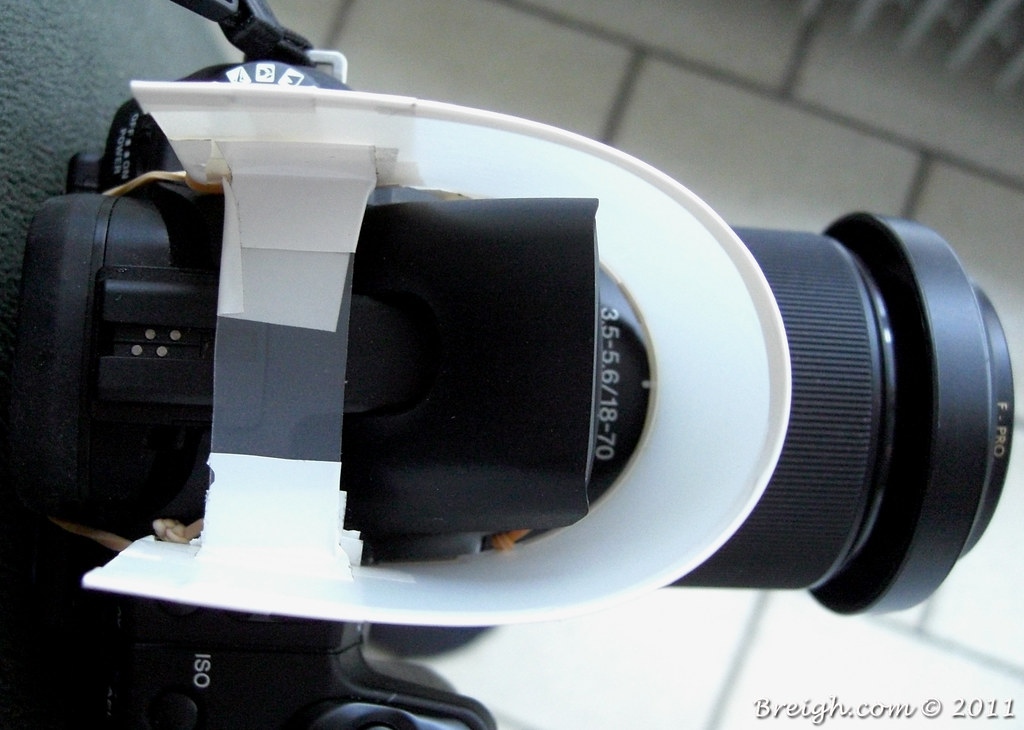
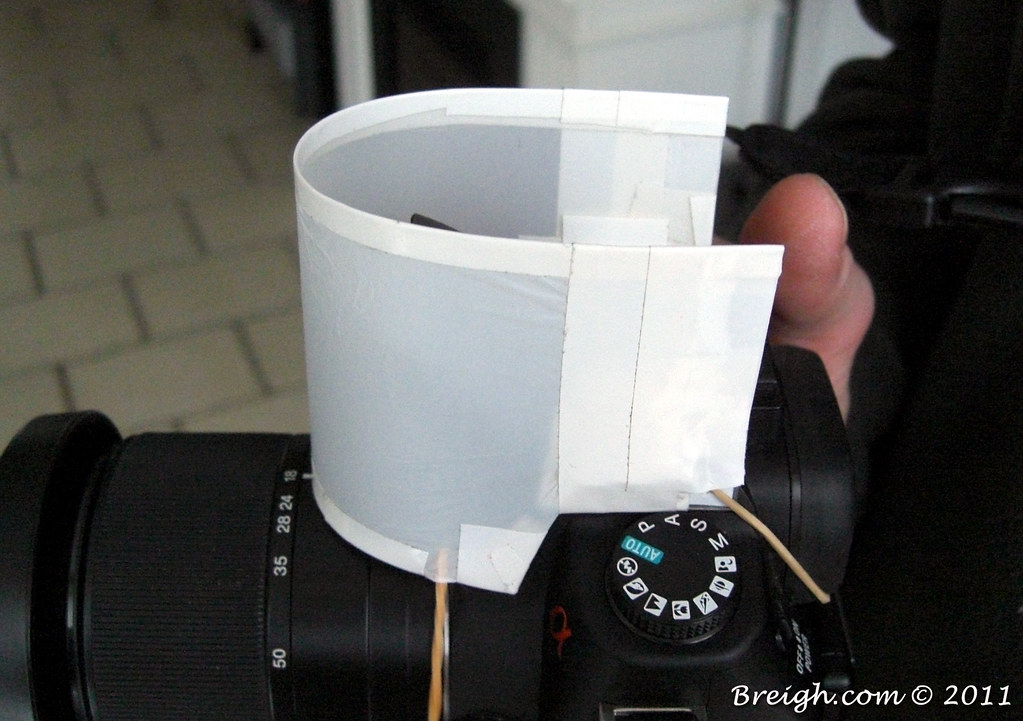
Will it work in softening up some of my photos this evening? Well, that remains to be seen! I did a few quick test shots with hubby as we worked on it. I had him stand in the toilet where it was dark so I could see if there was any difference. If you are wondering, his eyes are closed because I kept blinding him with the flash.
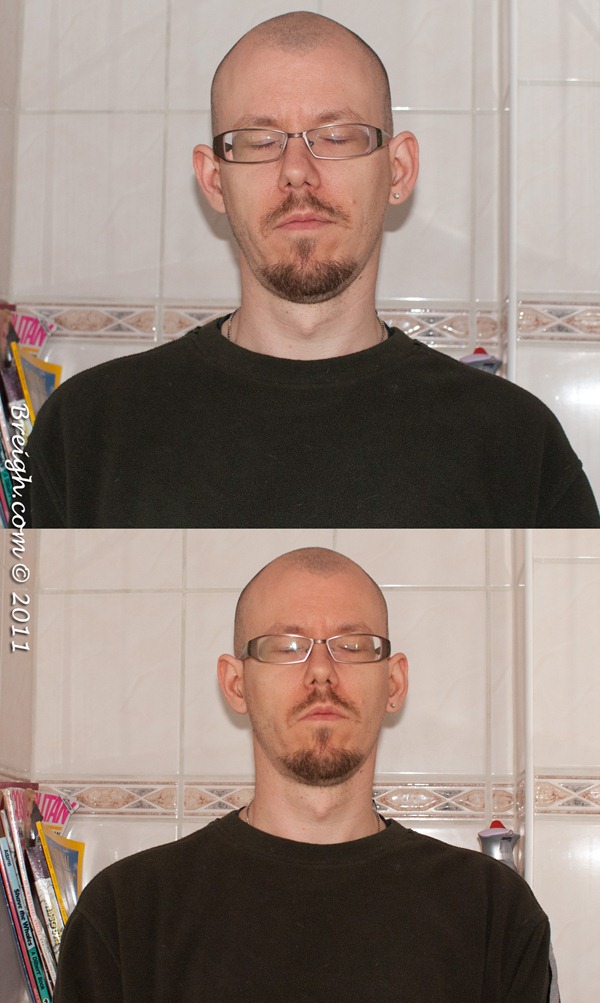
The top photo was with the pop-up flash alone, the bottom is with the diffuser. You can see that the shadows aren’t as extreme and (well I would know this, you wouldn’t) the color of the tiles is the actual color in the bottom, but made more white on the top.. Both photos are straight out of the camera with no editing so I could show the initial difference.
Granted, this is definitely a different environment than I would be using it in tonight so I’m not sure what the results will be. Good thing about this is that if I’m taking photos and they just don’t look right on my LCD screen on the camera, it’s easy to remove. We’ll see!
 Canadutch
You two are like the McGyver of the photography world.
and yet, I like the top picture better… but maybe that’s just me. I think the skin tone looks way better. Did you have a preference?
I think the first photos is more in focus but the 2nd photo’s colors are better and the shadows aren’t as harsh.
I couldn’t help but get distracted by range of reading material :)
I love that you attempted a DIY diffuser. Flash is really tricky and there’s a lot of trial-and-error, especially with on-camera flash. One little change, like your distance, suddenly makes an enormous difference in the overall look.
Down the line you’ll want to buy a pro flash, you’ll love the difference… maybe a used one for the Alpha?
I SO wish I could afford a professional flash but that’s just not in the cards at the moment :( maybe one day!